Painting a room can be a daunting task, especially if you have never done it before. However, with the right tools, techniques, and a little bit of patience, you can achieve professional-looking results. In this article, we will guide you through the step-by-step process of painting a room like a pro.
Choosing the Right Paint
Before you start painting, it is important to choose the right paint for your room. Consider factors such as the type of surface you are painting, the desired finish, and the color you want to achieve. It is also important to invest in high-quality paint brushes and rollers, as they will make a significant difference in the final outcome.
Preparing the Room
Properly preparing the room before you start painting is crucial for achieving a professional finish. Start by removing any furniture, fixtures, or wall decorations from the room. Cover the floors and any remaining furniture with drop cloths to protect them from paint splatters. Use painter’s tape to mask off any areas that you do not want to paint, such as baseboards, window frames, and door frames.
Repairing and Cleaning the Surfaces
Inspect the walls for any cracks, holes, or imperfections. Use a putty knife to fill these areas with spackle or drywall compound. Once the compound has dried, sand the patched areas until they are smooth. Afterward, wipe down the walls with a damp cloth to remove any dust or dirt that may affect the paint adhesion.
Applying Primer
Applying a coat of primer before painting is highly recommended, especially if you are working on a surface that has never been painted or has stains. Primer helps the paint adhere better to the surface, improves the color coverage, and ensures a more uniform finish. Use a brush or a roller to apply the primer evenly across the walls, and let it dry completely before moving on to the next step.
Painting Techniques
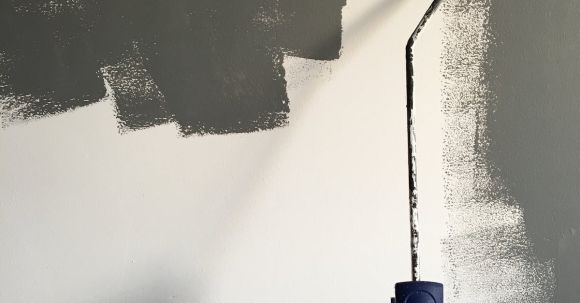
When it comes to painting the walls, it is important to use the right techniques to achieve a professional finish. Start by cutting in the edges with a brush, painting around the edges of the walls, near the ceiling, and along the baseboards. This will create a clean line and make it easier to fill in the rest of the wall with a roller. Use a roller to apply the paint in a “W” or “M” motion, working in small sections at a time. This will help distribute the paint evenly and avoid streaks or lines.
Multiple Coats and Drying Time
For a professional-looking finish, it is recommended to apply multiple coats of paint. Allow each coat to dry completely before applying the next one. This will ensure better color coverage and a smoother finish. Be patient and avoid rushing the process, as rushing can lead to uneven drying and poor results.
Clean Up
Once you have finished painting the room, it is important to clean up properly. Remove the painter’s tape while the paint is still slightly wet to avoid peeling the paint off with the tape. Clean your brushes and rollers thoroughly with warm soapy water to remove any leftover paint. Store them properly for future use.
In conclusion, painting a room like a pro requires careful preparation, the right tools, and proper techniques. By following the steps outlined in this article, you can achieve professional-looking results and transform any room in your home. Remember to choose the right paint, prepare the surfaces properly, apply primer, use the right painting techniques, and allow for multiple coats and drying time. With a little bit of practice and patience, you will become a pro at painting your own rooms.


